congratulations!
Welcome to

brand new site!
Devin, it has seriously been such a pleasure to work with you! I am so, so excited for Skulls N’ Spurs to take off to heights you couldn’t have ever imagined. Your drive, ambition, and genuine passion for your product is so admirable, and I know it’s gonna take you so far.
I’ve had such a blast designing your site, but the wait is over and the site is now in your hands. But don’t worry! Squarespace is super intuitive and client friendly. No coding needed, just some drag & drop. Below, I’ve listed a few “How-To’s” on a few things you may need to know while maintaining your site. Firstly, I recommend you reading through my the “Squarespace 101.pdf” file I sent over, and watch this video to start (start at 3:41, the beginning is unnecessary!). Once you review those, you’ll have a great knowledge of the basic functions you’ll need to know to manage your site.
Because of the code I’ve written in the back-end of your site, there are a few things you’ll need to know that differ from the basic editor. Let’s get started! NOTE: This outline is best viewed on desktop.
If after reading through this page and all of the provided resources you still have some questions, please don’t hesitate to ask! I’m here for hands-on support for 2 weeks after launch, and I’m always here to answer any of your questions, for free.
JUMP TO:
ADDING & EDITING A PRODUCT (PRINTIFY)
1.) Add product to Printify.
To Publish:
1.) Leave Product Title and Description as is.
2.) Select all available variants:
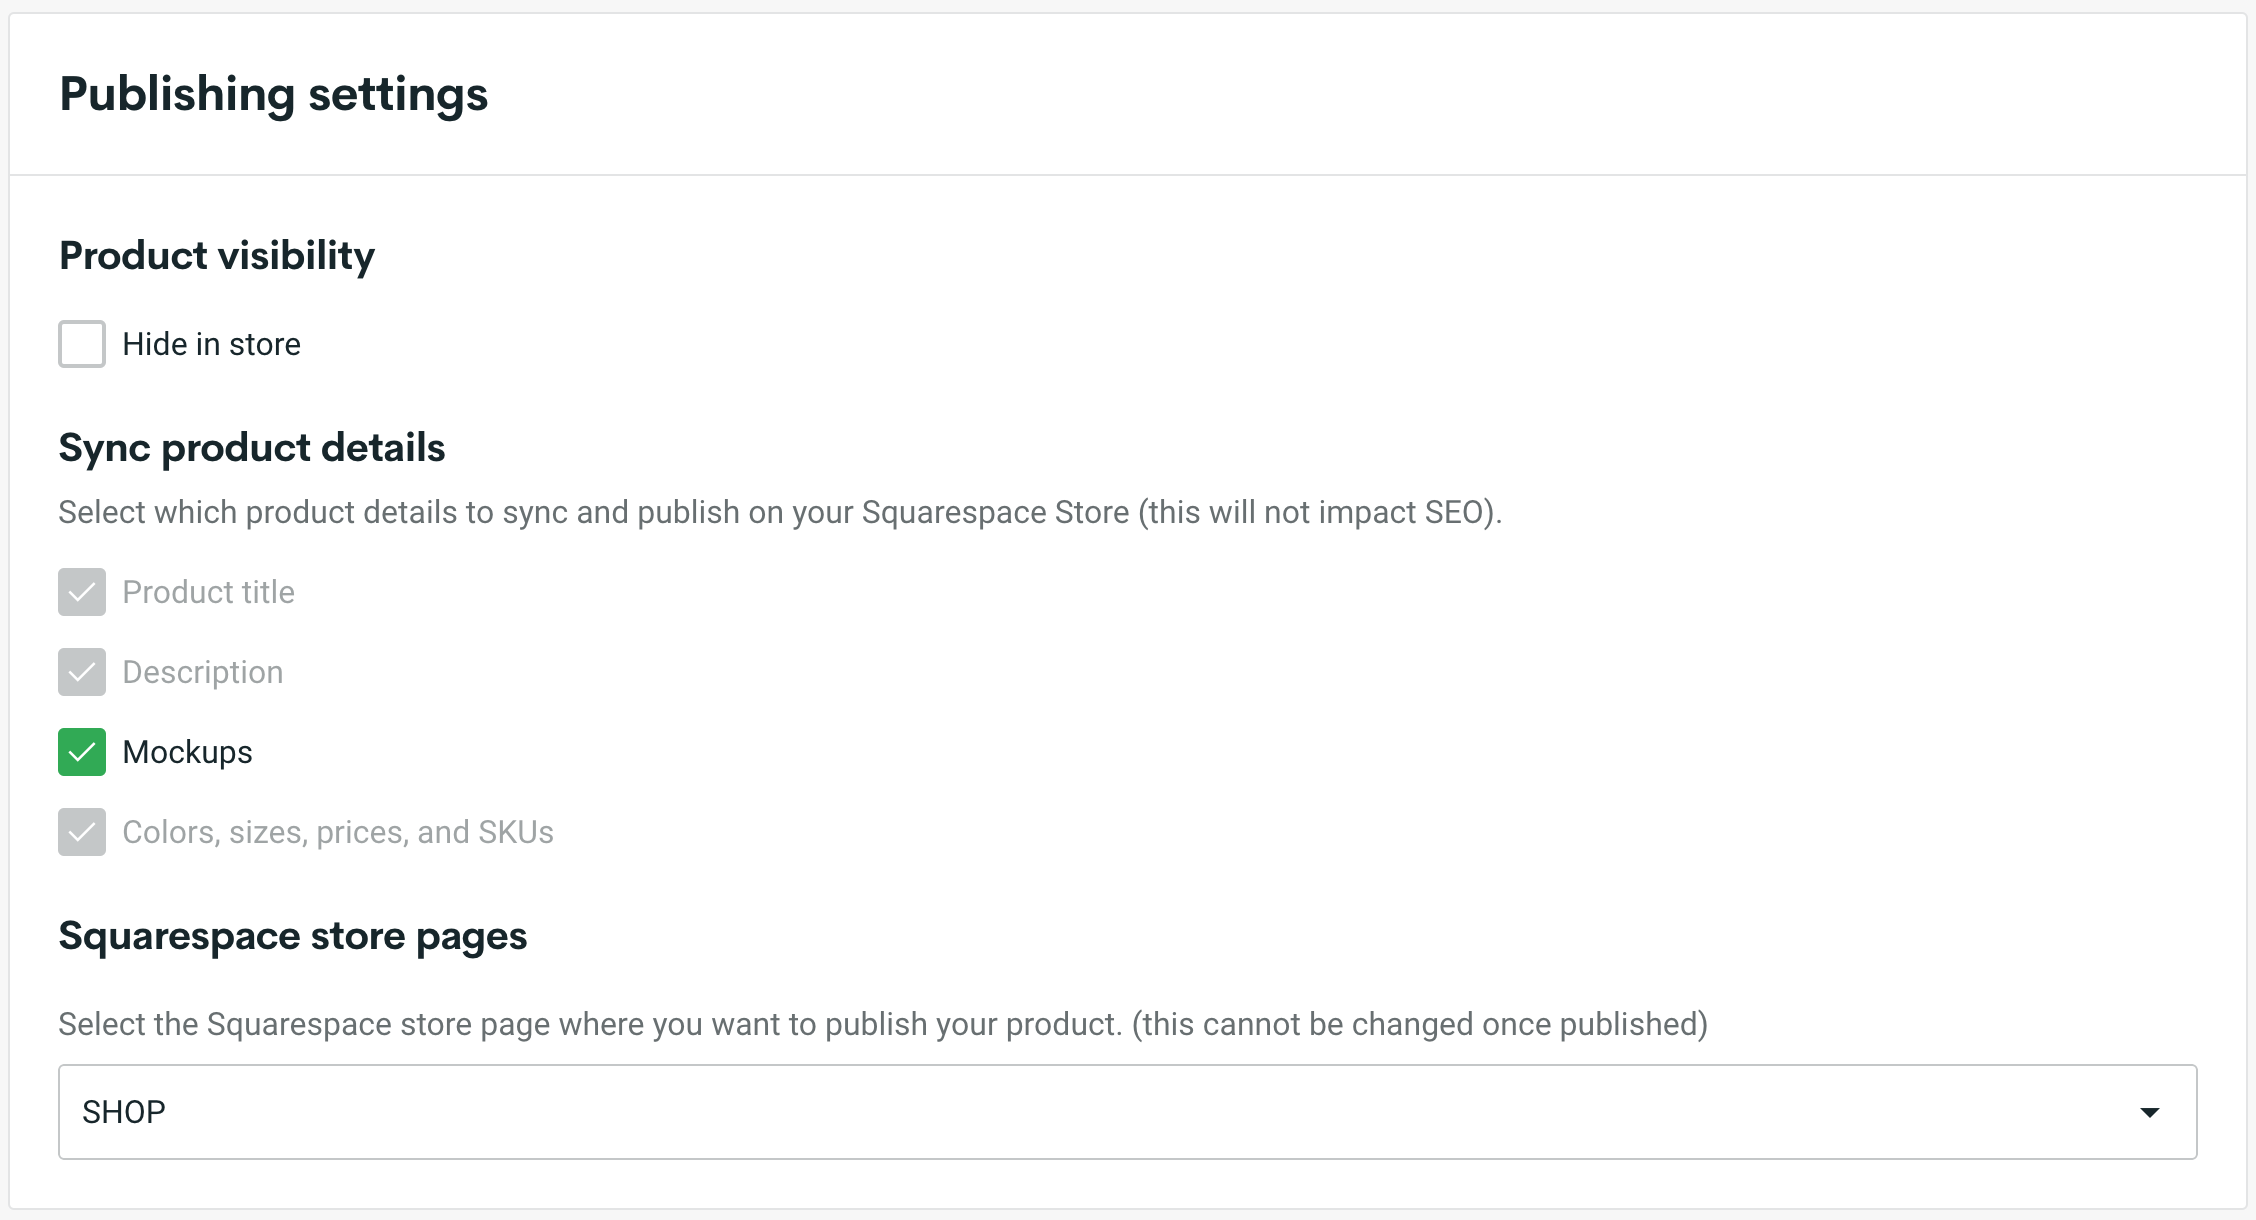
3.) Leave Publishing Settings as is:
4.) Click Publish.
5.) To access your Squarespace shop, click “Website” in the Control Panel, then "SHOP ALL”, then “All”.
6.) To find your recently added product, either search the title in the search bar, or scroll through your items.
7.) Once you find your item, hover over it, click the 3 dot toggle, and then “Edit.”
8.) Once you’re in the edit function, rename the product title to whatever you’d like.
Because of back-end code I have added, you will be able to add a dropdown menu including details about the item (pictured right, or below on mobile). In order to achieve this dropdown, the following steps MUST be followed:
9.) Next, select all of the product description, right click, and click “cut”.
10.) Click “Additional Info”.
11.) Paste the text you cut into the “text” area. This text will be used as reference for the next step.
12.) Once text is pasted, hover over the top of the text box until a blue “+” button appears. Click the “+” button.
13.) When the “+” is clicked, a window will pop up with different options to add. Click “accordion”.
14.) An accordion will appear, as well as a window that you will use to edit the accordion.
15.) Title “Accordion Item 1” as “Details”, “Accordion Item 2” as “Measurements”, and Accordion Item 3 as “Care”.
16.) Fill in each ‘tab’ with the information you pasted into the text box. For example, for the item above, I would add the following information into the “Details” box:
- 100% combed ringspun cotton
- Slim Fit
- Tear away label
- Runs small, we suggest sizing up
In the accordion edit, a dash “-” automatically transforms into a bullet point.
To add the measurements, I would open a new tab and view the item dimensions in Printify, as the pasted version is very hard to read. I would type the measurements into the “Measurements” box as follows:
S: W 18.50”, L 27.99”, Sleeve L 26.57”
M: W 20”, L 28.98”, Sleeve L 27.17”
L: W 21.50”, L 30”, Sleeve L 27.76”
XL: W 23.50”, L 30.98”, Sleeve L 28.35”
2XL: W 25.51”, L 32.01”, Sleeve L 28.94”
For the care tab, sometimes the care is listed by Printify, sometimes it’s not. In this case, it’s not. Personally, the way I find suitable care for a particular item is to search how to care for the material. In this case, the material is 100% cotton and does not list that it was pre-shrunk. So for this item, I would add this to the “Care” box:
Machine wash cold & air dry or tumble dry low to avoid shrinkage.
17.) Once the accordion information is filled in, this is what your page should look like:
18.) Now that you’ve filled in your accordion, you no longer need the “text” field to refer to, so it can be deleted. In order to do this, hover your cursor over the top of the text box. Click, and then click the trash icon.
19.) Apply your changes by clicking the “Apply” button in the top right corner.
20.) Next, in the description field, add a fun, personalized/branded description.
21.) Now, we edit the product organization. This is where you decide where your product shows up. Scroll down to the “Organization” section.
THE DIFFERENCE BETWEEN CATEGORIES AND TAGS WHEN it comes to product organization:
“Categories” are the options that show up when you select “Shop” in your mobile menu. These are broad descriptors.
“Tags” are the options you DO NOT want to show up in your mobile menu, but want to use to help sort similar items. Tags are BEST for collections.
22.) For this item, the category would be “Clothing”, and subcategory would be “T-shirts”.
The tags would be “Cowboy killers” and “long sleeve”.
23.) You’re done! Click “Save” in the upper righthand corner. The final product page should look like this:
ADDING & EDITING A PRODUCT (DIRECT TO SQUARESPACE)
1.) Navigate to your Squarespace shop. To do this, click “Website” in the Control Panel, then "SHOP ALL”, then “All”.
2.) To add a new product, you can either click the “+” button located next to “All” (Or Shop All), or click “+ Add Product” at the bottom of your product list.
3.) Select the type of product you’re posting. Most likely, you will almost always choose "Physical Product”.
4.) Enter your product title, and a quirky, Skulls N’ Spurs style description. If your item is a pre-order item, indicate the date in which the item will be shipped out. Then, click “Additional Info”.
5.) A new window will pop up. Hover over where it says “Write here…” and click the blue “+” that appears above the text box. Then, select “Accordion”.
6.) A new window will pop up allowing you to edit the accordion. Click “Accordion Item 1” and replace it with “Details”, then “Accordion Item 2” and replace it with “Measurements”, then “Accordion Item 3” and replace it with “Care”. For the “Details” description, always list the fabric contents/material, and any details about the clothing that the manufacturer has listed for that particular product that you’d like your customers to know. For measurements, sometimes the manufacturer will list the product measurements, other times they do not. In this case, you can either measure the item yourself, or type in the general measurements for that type of garment. Refer to the size guide page of your website to view those measurements. For care, in the case that the manufacturer doesn’t indicate them, search how to care for the particular fabric your product is made from. For example, “100% cotton shirt care instructions”. In the case that the product is 100% cotton and NOT pre-shrunk, I would write “Machine wash cold. Air dry or tumble dry low to avoid shrinkage”. For garments with bright colors, I would write something like “Machine wash cold with like colors to avoid dye transfer.” Once you are done editing the accordion, click “Apply” in the upper righthand corner.
7.) Next, it’s time to upload your product images. Click “Add Images” and select any images you’d like to display in your listing. It’s best to have 2-4 images of each different color— 1 front facing of each color, 1 of the back of each color, 1 of the side of each color, and 1 mock-up, or image of a model wearing the garment, if you have one. Once your images have uploaded, drag and drop your images into the order in which you’d like them to appear on the listing. The first image should be the one that shows up as you’re scrolling the shop, and the 2nd image should be the one that appears when someone hovers the listing. If there are multiple colors of the product, it’s wise to have the 2nd image be another color. If there is only one color, the 2nd image should either be a different side/angle of the product, or a mockup/model image of the product. When you’ve decided the order of your images, hover over the one you’d prefer to be the main thumbnail image and click “Set as Thumbnail”.
8.) Next, you will edit the “Inventory” section. Enter the price at which you’d like to sell your item, then toggle the “Unlimited Stock” option off. Once the toggle is set to off, enter the amount of inventory you have on hand/how much you intend to sell (for pre-order items). Then, we’ll adjust the variants. Likely, you will need to add a “Color” and a “Size” variant. To add these, click “Add”. The first variant that will pop up will be color. If there are different color options for your product, type all color options next to the dropdown. If there is only one color option for your product, change the variant option by clicking the dropdown and selecting a different option. To add another option, click “Add option.” Once you’ve added all variant options, click “Save”.
9.) If you have variants that you would like to make a higher or lower price, after saving the different variants, click “Edit all”, then adjust the prices of those you’d like to change. This is also where you adjust each individual item’s stock, and select which image represents each variant. To select an image, click the little up-arrow button to the left of the variants and select the coinciding image. Once you’ve updated every variant’s image, stock, and price, click “Back”.
10.) Next, in the “Fulfillment” section, there’s nothing you need to do unless you want to limit the delivery options for the particular item you’re uploading. If the item is a pre-order item, you may want to remove Expedited, or Overnight shipping, because this may be misleading. (Customers may deduce that because they paid extra for quicker shipping, their order will get there 1 day from the order, and not 1 day from shipment date.) NOTE: Currently, I have only added “Standard Ground shipping” at $6 flat rate, and an extra $0.50 for every item in the order. To edit that and add more shipping options, click “Set Up Fulfillment Profiles”.
11.) Now, we’ll organize your item into it’s proper category. Under the “Organization” section, make sure your item is set to “Public”. Next, click the “+” next to “Categories”. A window will appear displaying all of your site’s existing categories. If the category already exists, simply click the check-box next to it. You can select multiple categories/subcategories that your product belongs to. If the category does not already exist, you’re able to add a new one. If you’d like to add a new main category, simply type it in the search bar and click “Add”. If you’d like to add a new subcategory, hover over the main category it will belong to, then click the 3 dot toggle that appears and click “Add”. Say you wanted to add a “Jackets” category under “Clothing”. Simply hover “Clothing”, click the 3 dots, and type “Jackets.”
12.) For the tags, this is where you will indicate the collection your product belongs to, and any keywords that may be searched to find your item. For example, the item I uploaded is a t-shirt, but what kind? Well, it’s part of the “Cowboy Killers” collection, so I’ll tag “Cowboy Killers”, and it’s also long-sleeved, so i’ll tag “long sleeve”. Like categories, tags also group products together, so tag products as if you’re adding them to a list of other similar products.
13.) Next, you can adjust selling tools. I typically don’t touch these unless I have a specific reason to. I have enabled “Related Products” across the board for every new product added. This adds a “You may also like…” section below your products.
Product Add-ons are good for items like electronics, where you may need to buy batteries or a charger to go along with your product, but you will most likely not need to add these.
Featured Products are all added to a collection that you can add to your homepage, but I prefer to manually add these/update them.
Product Reviews may be something you’re eventually interested in. This will display customer reviews for each individual product at the bottom of each product page. To add this feature, click the "Selling” link under Product Reviews.
14.) Next, you’ll adjust the SEO for the product page. For the URL, I typically like it to be the name of the product, all words separated by “-”. For example, "/cowboy-killers-long-sleeve-tee”. For the SEO title, I always enter the same title I did for the Product Title, Plus “| Skulls N’ Spurs”. This helps searchability for your brand. For the SEO description, enter the same Skulls N’ Spurs style description I did for the product description. If it’s short (ex. This is a sticker), I would add some key descriptive words. For example, a better SEO description would be “High quality, glossy sticker of the badass Skulls N’ Spurs logo”. When you’re done, click “Apply”.
If the item you’re uploading is not a pre-order item, you can skip this step:
15.) If your item is a Pre-Order item, you will need to add a Custom Add To Cart Button and a Custom Form. Toggle “Enable Custom Button” on, and then change the Label to “PRE-ORDER”. Then, click Apply. Next, click “Custom Forms” and select the “PRE-ORDER FORM”. This form pops up when your customer clicks the “PRE-ORDER” button, just confirming that the customer is aware that the item is a pre-order item and will not be shipped out until the date indicated in the product description. If there are any other forms you’d like to create in the future, simply click “Create New Form”. Once you’ve selected the proper form, click “Apply”.
At last, you’re done adding your product! In the upper righthand corner, click “Save”. You’re able to simply save the product as hidden (not visible publicly), schedule the publish date, or immediately publish your item.
If you forget anything, you’re always able to go back and edit your items later by navigating back to “All” of your inventory, hovering over the item, clicking the 3-dot toggle, and clicking “edit”.
For pre-order items, don’t forget to go back and change the button back to “Add To Cart”, change the custom form to “No form required”, and remove the shipment date from the description once the shipment date has arrived.
UTILIZING PRODUCT ORGANIZATION
THE DIFFERENCE BETWEEN CATEGORIES AND TAGS WHEN it comes to product organization:
“Categories” are the options that show up when you select “Shop” in your mobile menu. These are broad descriptors. Examples: Clothing, Accessories, Etc. There are also subcategories that further describe your item. Examples: T-Shirts, Hoodies, Hats, Etc.
“Tags” are the options that don’t show up in your mobile menu, but are still used to help sort similar items. Tags are BEST for collections or seasonal items. Examples: Cowboy Killers, Logo, Winter, Long sleeve, Etc.
Say you wanted to add a section on your homepage to advertise your winter items. You want to add a button in the section that says “Shop Winter”, and link to all products that are suitable for the season. In this case, you will add the tag “winter” to all items you want to link to. Once that’s complete, add the button to the section, click the gear icon, and select these options for the link:
And this is what the button will function like:
editing the web version of your shop menu
1.) While on any page, click “edit” in the top left corner.
2.) Scroll to the bottom and click “edit footer”.
3.) The banner dropdown that shows up when you hover “Shop” (while on web version) should be located in the footer to edit.
If you want to add a new collection, or new category, simply type the name of the collection or category in the text box where you’d like it to appear, select the text, then click the button in the toolbar, as pictured below:
A small window will appear. Click the icon that looks like a gear, as pictured below:
Then, follow the following steps:
Once you’ve completed the steps in the video, click “apply.” Once you’re done editing the dropdown menu, save your page.
editing the MOBILE version of your shop menu
1.) In the sidebar, you’ll see “SHOP” with all of your Categories listed below it. Click “Add Page”.
2.) Select “Link”, then in the link title, type the New Category name. This is what will show up in your menu. Then in the link, type “/shop/” then whatever your new category link URL (URL slug) is. See next step to see where to find the category link URL (URL slug).
3.) To find your new category link URL (URL slug), in your sidebar, click “Shop All”, then click whatever category you’re looking to find the URL to, then the little gear icon next to the Category title. A window will pop up showing you the URL to that category. Rule of thumb, if your category is one word with no punctuation, it’s just going to be the category name. If your category is two words, it will most likely be separated by a dash (new-category), and if there’s punctuation, it’s most likely going to have a % symbol (devin%s-new-category). I would still check the URL slug to double check before creating your link. NOTE: You can always change the URL slug to any page/category if you’d rather not have any dashes or symbols.
Adding your instagram
1.) While on the home page, enter edit mode by clicking “Edit” in the top left corner.
2.) Scroll to the bottom to the “Keep Up With Skulls N’ Spurs on Instagram” section. Click the Instagram block. A little toolbar will pop up. Click the little pencil “Edit” icon.

4.) A little window will pop up. Under the “Connected Account” section, select the dropdown and click “Add an account”. Another smaller window will pop up letting you know that another pop-up is going to appear, authorizing Squarespace to connect your Instagram account to Squarespace. Follow the prompts on that pop up.


5.) To adjust the amount of posts shown, adjust the slider pictured above.